The builder
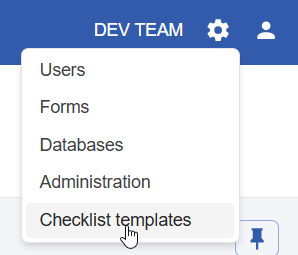
Creating a checklist template is the first step to start using templates. Creating a template can be done from the checklist template editor, that can be found under the coggwheel, providing you have the correct permission.
In the checklist builder, you get an overview of all existing chechlist templates, or you can create a new one.

Versioning
Checklist templates are versioned, and one version must be active to use the template. Only one version can be active at a time. This allows you to modify a template without publishing changes immediately. Changes go live only when you activate the version you’re working on.
Current and previously activated versions remain available but cannot be modified. You can create a new version based on an existing one. Keeping active versions read-only ensures ongoing or past checklist instances are not altered.
The checklist instance for a specific asset in a specific task is created from the active version of the checklist template selected in the approval task configuration (see ).
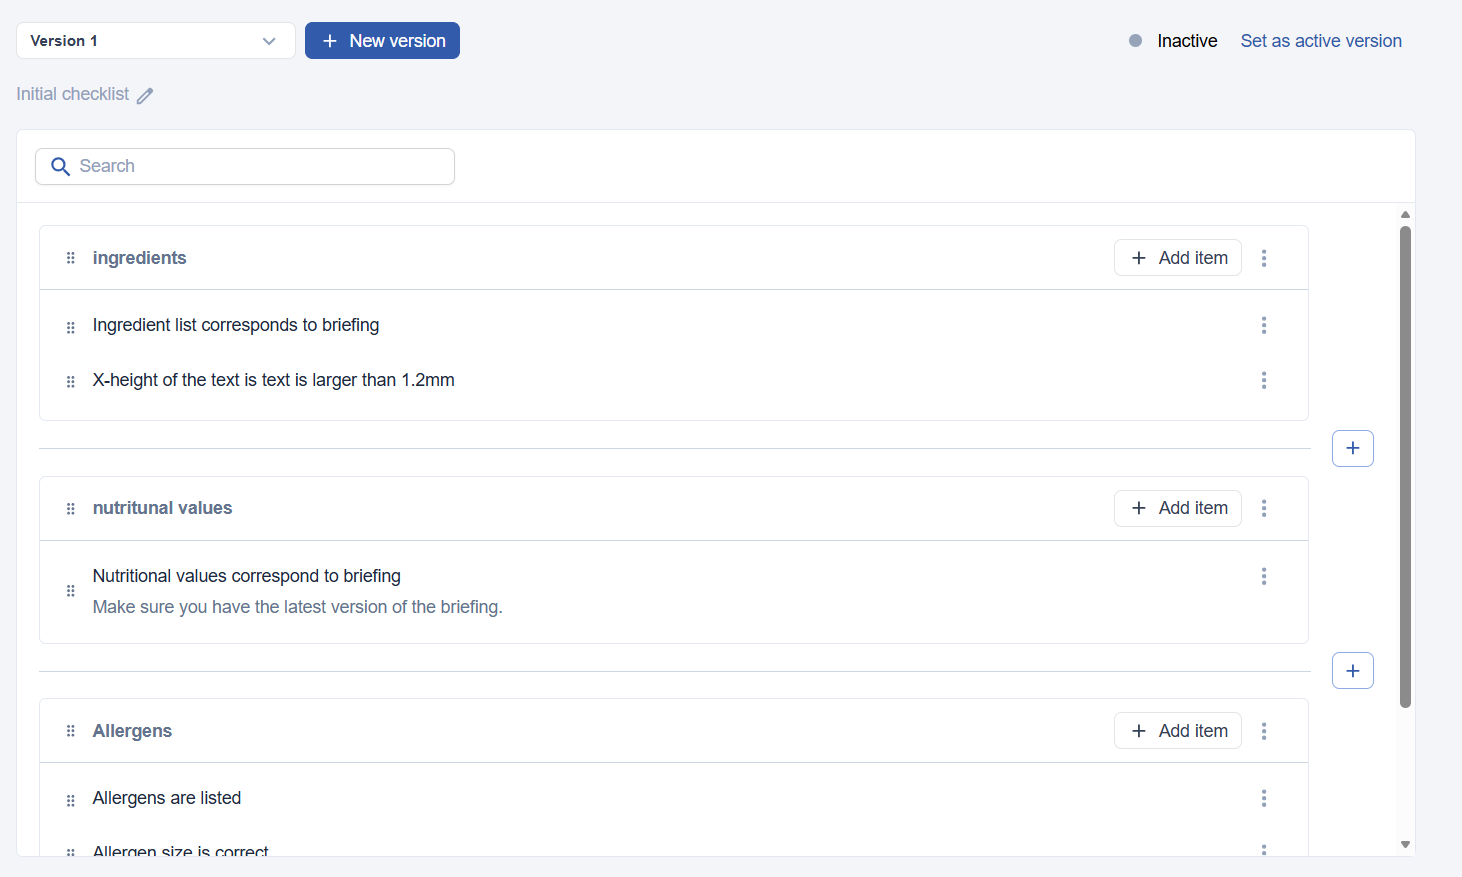
The checklist editor's top bar lets you manage versions:

On the left, select the version to edit. Versions that are or have been active are locked, indicated by a lock icon, and cannot be edited.
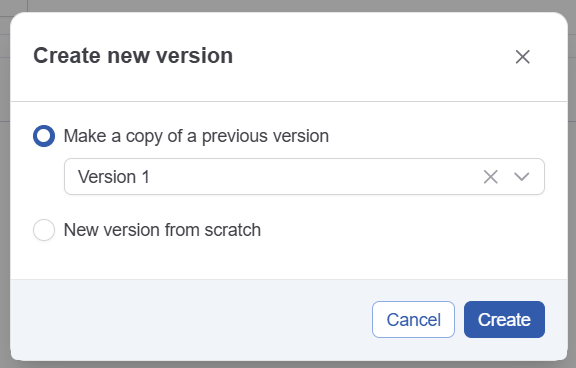
Clicking ‘new version’ lets you create a version from scratch or based on an existing one.
Each version has a description to document changes made to that version.
Activate an inactive version by clicking the ‘set as active version’ link:

Building the checklist
The checklist has sections and items. Start by creating a new section using ‘Add new section’.

Sections contain checklist items. The person completing the checklist checks the items. Click ‘add item’ in a section. Each new item has a label and an optional description. Use smartnames to include data entered during, for example, the project's briefing phase.
Add items to the checklist as needed. Reorder sections and items by dragging the handle icon (six dots) before the name.
Once you are happy with the checklist and want to start using it, click ‘Set as active version’. New versions of existing checklists in use become active immediately. New checklist templates are now available for selection in the approval task configuration, as described in the section.