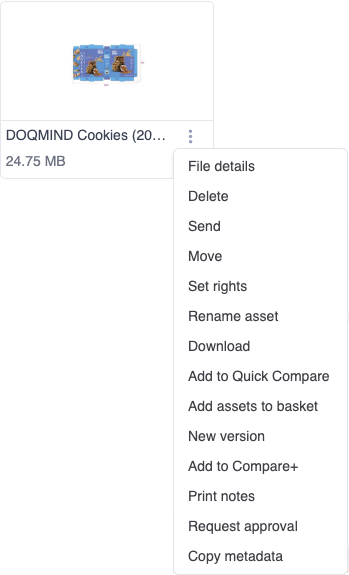
Depending on user rights, the following actions are possible in the Assets module, either via the context menu of via the toolbar in the header. Which actions are available depends on both user-level rights and the folder- and asset-level rights on the item itself. See How rights are inherited for how those resolve.
File Details
see The File Details
Delete an asset
This deletes the file, including all versions and metadata, from the system. This can be done on an individual file or on multiple selected files via the top menu bar.
Send an asset
The send file action allows you to send download links to one or more recipients. The recipient will receive an email with a download link. This link points to a ZIP file that contains the requested files. Behind the scenes we create a basket. This allows you to track what happened to the download, revoke links or approve additional downloads (see the basket section for more information).
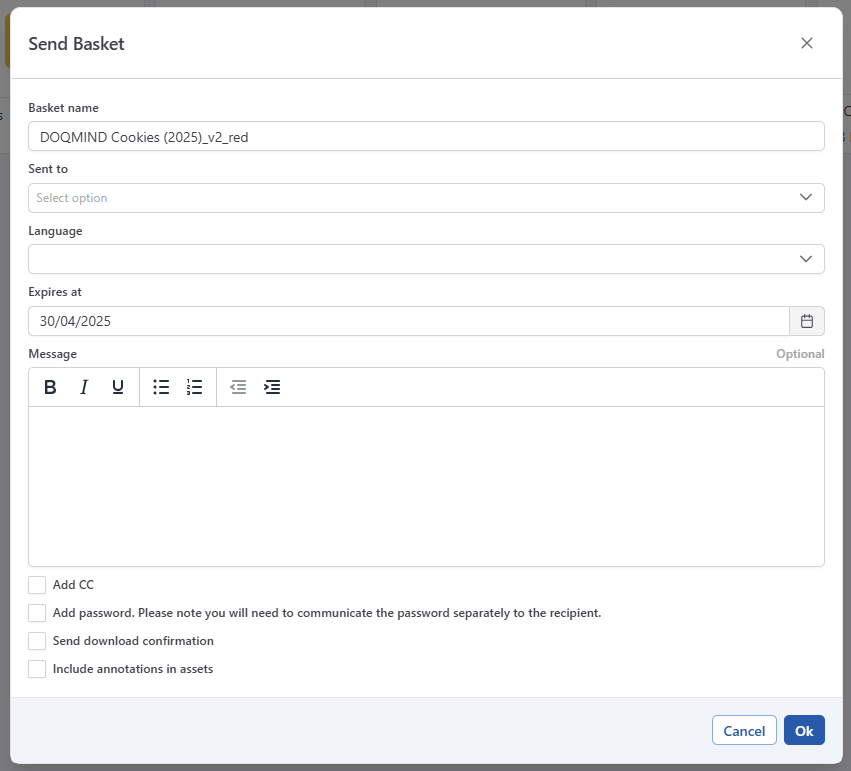
The following options are available when sending files:
-
Basket name: the name of the underlying basket that will be created
-
Sent to: the email addresses of the recipients you want to send the file(s) to. These recipients will receive an email with a download link.
-
Language: the language of the email that will be sent
-
Expires at: the expiry date of the links
-
Message: some text/information that will be added to the email
-
Add CC: these persons will receive a notification that a file was shared, without the download links.
-
Add password: add a password to the download link. You will have to communicate the password outside of the DOQMIND platform
-
Send download confirmation: you will receive an email notification when the underlying basket is downloaded
-
Include annotations: if selected, a 2nd low resolution version with annotations will be included in the ZIP file for all selected files. The ZIP will contain both the original file and the annotated file.
Move an asset
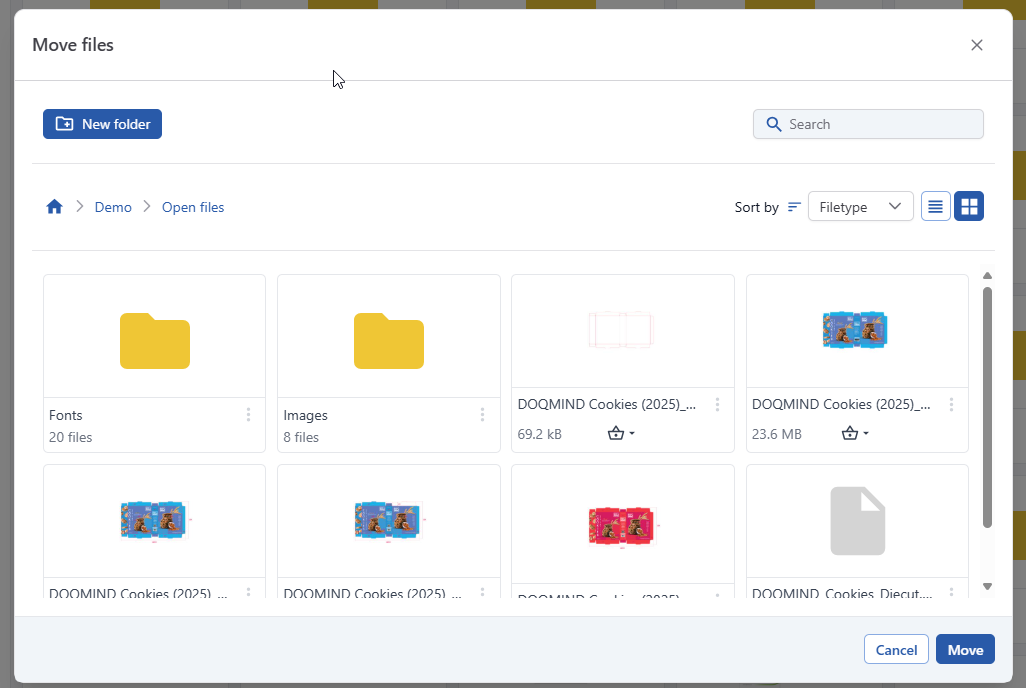
This allows you to move a file to a different folder.
From the move modal you can select a destination folder, or create a new folder:
When moving an asset to a destination where an asset with the same name already exists, you’ll be asked how you want to handle the conflict
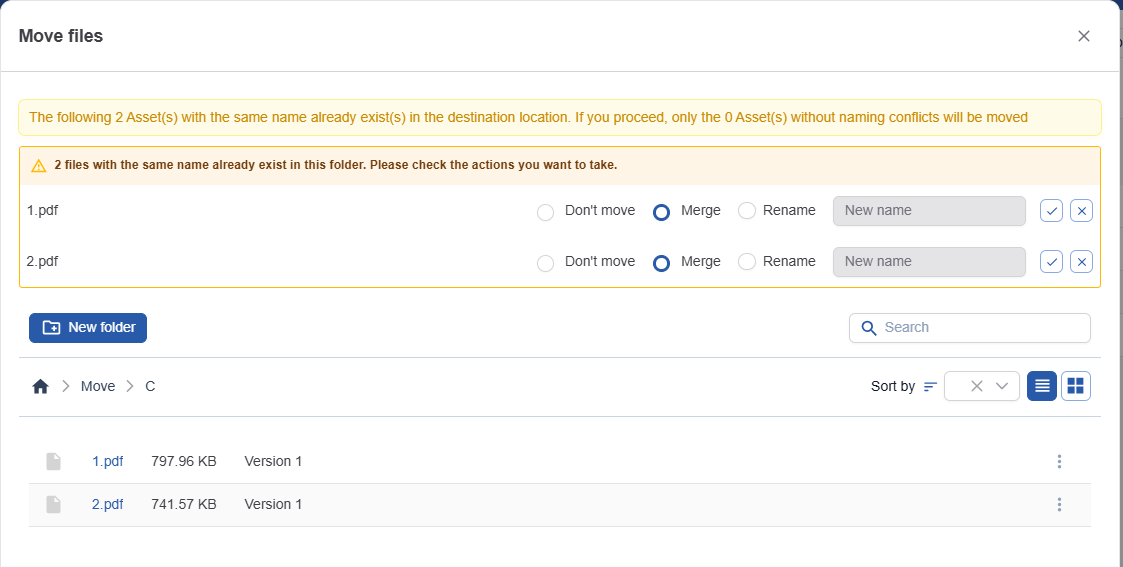
You have the option not to move the asset, to merge the asset, or to rename the asset while moving.
Merging assets creates new versions and keeps the existing versions of the asset being overwritten.
Set Rights
Allows you to control who can see and act on this folder or asset. See Set Rights on folders and assets for the full walkthrough.
Rename asset
Changes the name of the asset.
Download
Allows you download one or more files. The files are zipped before they are downloaded.
Add to Quick Compare
This action allows you to add a selection of file to the Quick Compare pool. This pool is shown in the top toolbar.
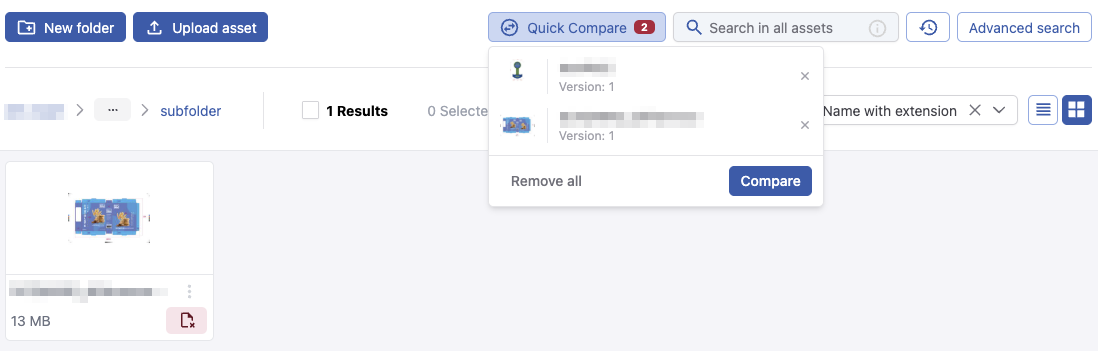
Only 2 PDFs can be added at a time here. Once there are 2 pdfs present in this pool, the compare button becomes enabled and allows to start a viewer session comparing these 2 pdfs.
Add assets to basket
Adds the selected files to a new or existing basket. See Working with Baskets for more details.
New version
Allows you to upload a new version of a file. This action can only be done on one file at a time.
Add to compare+
Adds one or more files to compare+. See Compare+for more details.
Print Notes
The print notes menu allows you to download an low resolution PDF file that contains all annotation that were made on the file. It is the same file that is sent by mail if ‘incorporate annotations’ is checked in the send action.
Request approval
Starts an approval process for the file. See Assets Approvals for more information.
Besides the context menu, request approval is also available as a bulk action in the Assets selection toolbar for users with the assets approval right, so you can start an approval on a whole selection of files at once.
Copy and paste metadata
Allows you to copy and paste the custom metadata set on one file to an other one. Paste will overwrite any existing metadata on the target asset. System metadata (file name, file size, creation date,…) will not be copied.
Copy metadata can only be done via the context menu. Once metadata has been copied, an additional action will appear in the menu bar that allows you to paste the copied metadata to multiple assets in one single action.
Edit metadata
The edit metadata action lets you edit the custom metadata assets. Edit metadata is available in the File Details modal (The File Details) as a single action, or from the toolbar as a bulk action. See Bulk editing metadata.
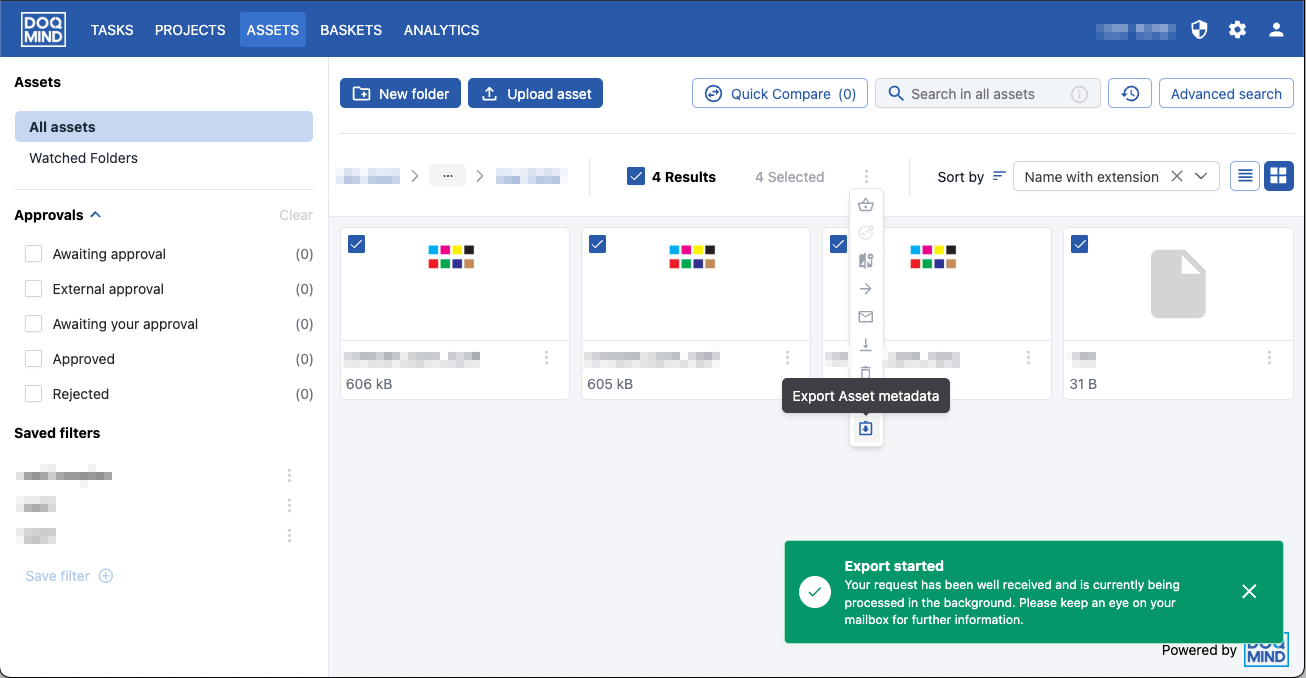
Export Asset metadata
Extract Asset metadata is only availably via the toolbar. It will generate an excel file with a list of all selected files and their metadata. An email will be sent with the excel file in attachment once it has been generated.