This article explains the elements in the interface that are specific to the Assets module. For a generic explanation on the DOQMIND user interface, see the article The elements of the interface
The header

The header consists of 2 rows.
The top row contains
-
a breadcrumb of the current location within your folders. The deeper you browse through the folder structure, the deeper you can navigate to them and the bigger your breadcrumb will become. Each section of the breadcrumb is linked to the specific folder, and can be clicked on to easily navigate to.
In the root of the assets module, the breadcrumb will display “All assets” -
the primary actions
-
creating folders
-
uploading assets
-
-
quick compare
-
searching and filtering
The bottom row gives:
-
Secondary actions, which can be performed in bulk, and view controls.
The possible actions are:
|
|
Upload asset: Allows you to upload a new asset, or create an external link asset. |
|
|
New folder: Allows you to create a new folder. |
|
|
Quick compare |
|
|
Select uploaded assets: after an upload, selects the assets you just uploaded so you can act on them as a group. Greyed out when there is nothing to select. See After an upload below. |
|
|
Add to basket: adds the selected files to a basket. |
|
|
Add to compare+: adds the selected files to the compare+ module |
|
|
Move: Moves the files to a new location within your DAM structure |
|
|
Mail: Mails a download link to the selected file(s) to a provided email address. |
|
|
Download: downloads the selected file(s) |
|
|
Paste metadata: pastes metadata that you have copied from a specific file. |
|
|
Edit metadata: opens the bulk metadata editor for the selected files. See Bulk editing metadata. |
|
|
Delete: Deletes the selected files |
|
|
Extract file properties: this action will mail you an excel sheet, containing all visible files, and an overview of all the metadata for that file. |
|
|
Request approval: starts an approval request on the selected files. Only shown to users with the assets approval right. Available for files only; it is greyed out when a folder is part of the selection. |
|
Sort by: allows the user to sort his assets by name, date or any of his predefined metadata labels. |
|
|
Toggle view: Toggles between a grid and a list view of your files/folders |
Searching and Filtering
For a generic explanation on the searching and filtering, see The elements of the interface | Search The search input field in the Assets module allows you to search through the files and folders. It searches on the filename and all the values of the metadata that is attached to the files.
The filters available in the Assets module consist of the system fields and the asset properties. Assets | Properties
The sidebar
Assets / Watched Folders
In Assets, the first section of the sidebar allows you to focus on watched folders or to look at all assets. See Watching folders for more information.
Saved searches
The first set of Saved filters are defined by the system and cannot be changed. In the Assets module, these are the filters related to the asset approval status. See the article Assets Approvals for more information on this feature.
The content
Here you can see an overview of your files and folders inside DAM.
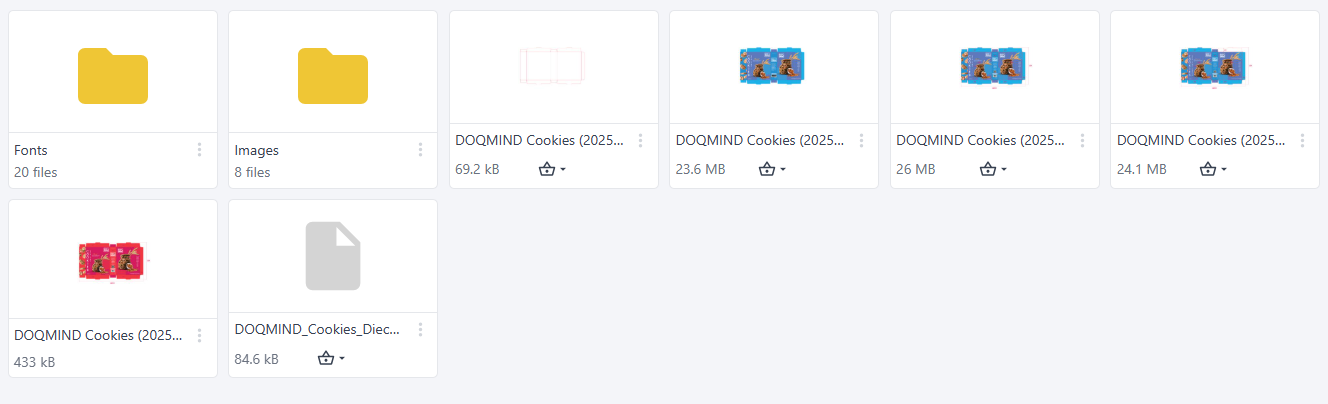
You can open folders and files or perform actions via the context menu.
The content can be shown in a grid view, or in a list view. The list view allows you to specify which columns you want to see in which order, as described in the Working with list view chapter.
After an upload
When you close the upload window, the assets you just uploaded are placed at the top of the folder and highlighted in blue, so you can see exactly what arrived. They are not selected automatically. Click Select uploaded assets in the toolbar to select them all at once, then apply any bulk action such as editing metadata or requesting approval. Uploading again adds the new files above the previous ones and keeps them all highlighted until you navigate away or refresh.